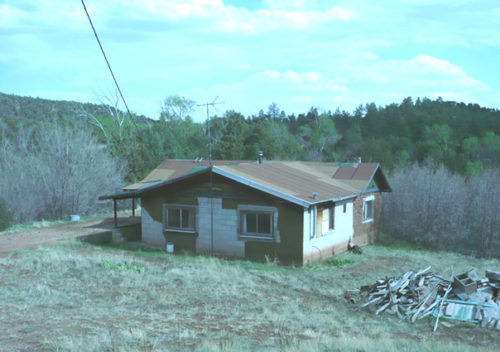
BEFORE - 2013
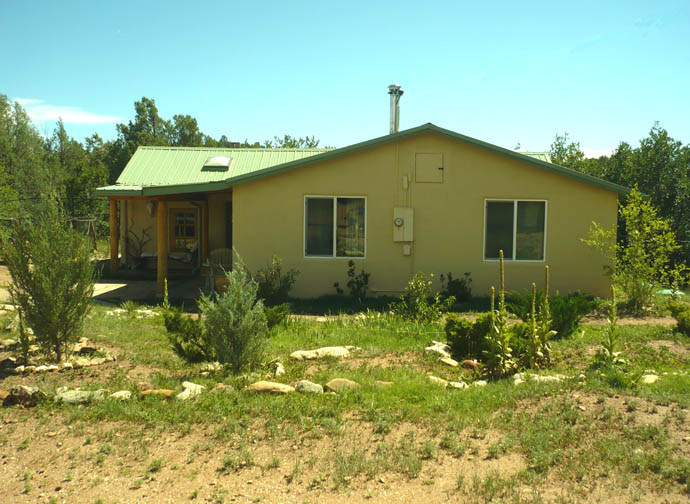
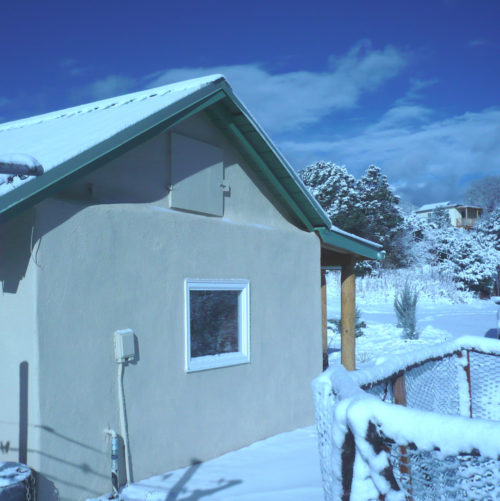
AFTER - 2018
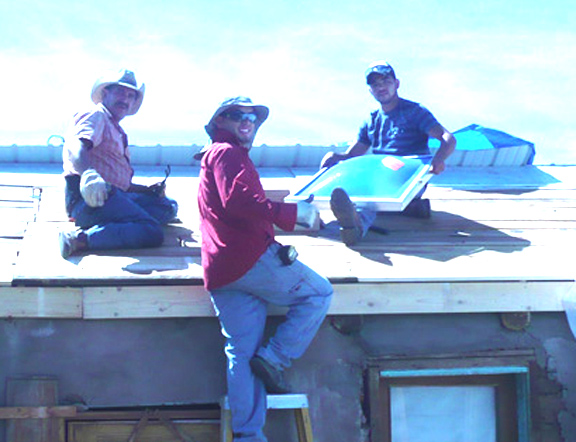
(l. to r.) Alvaro, Enrique, and Adam - my "go to" guys for heavy construction work.
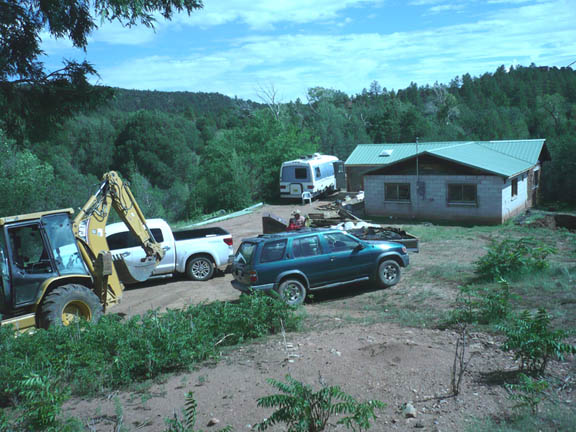
The finished roof, with the RV to the left of the house.
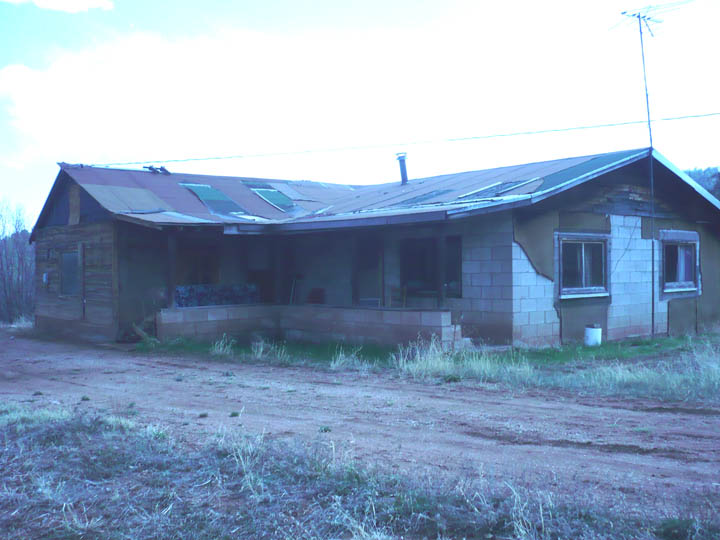
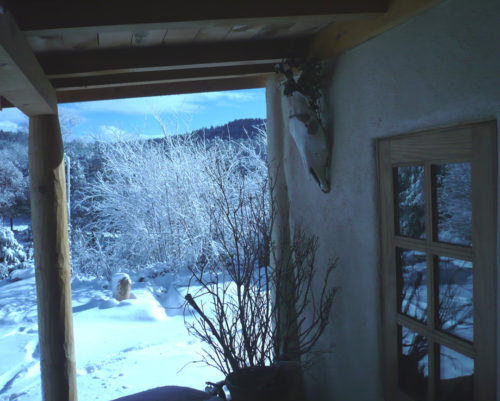
BEFORE - Front porch
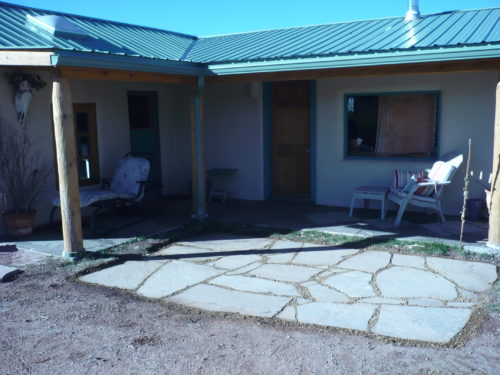
AFTER - Newly built front porch, with new roof, stuccoing,
tiled porch floor, and flagstone patio.
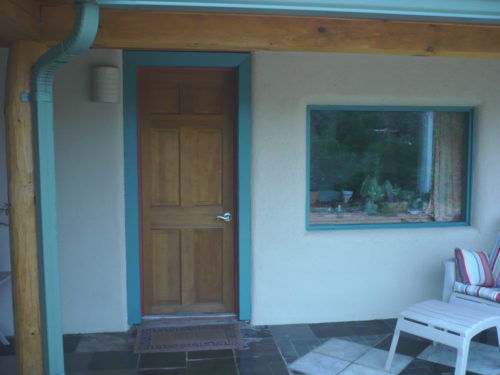
Old door from Habitat for Humanity, refurbished and stained.
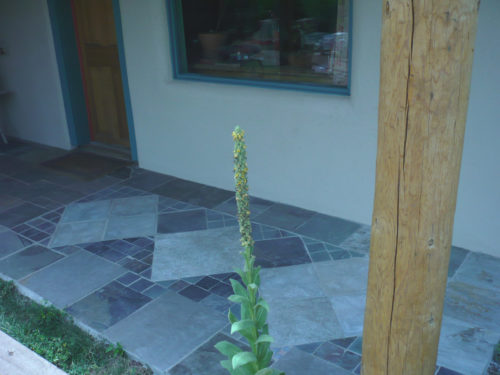
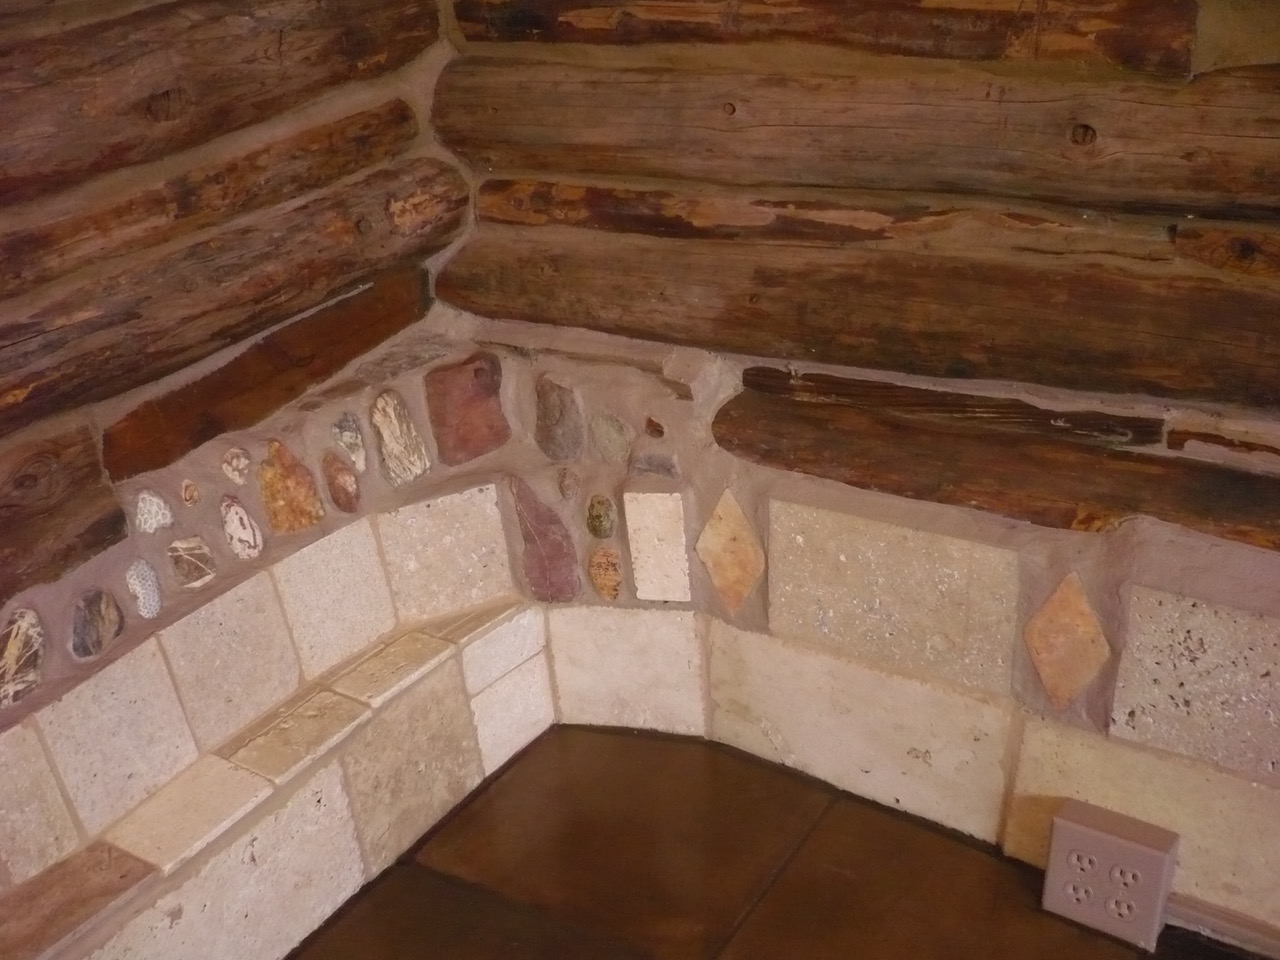
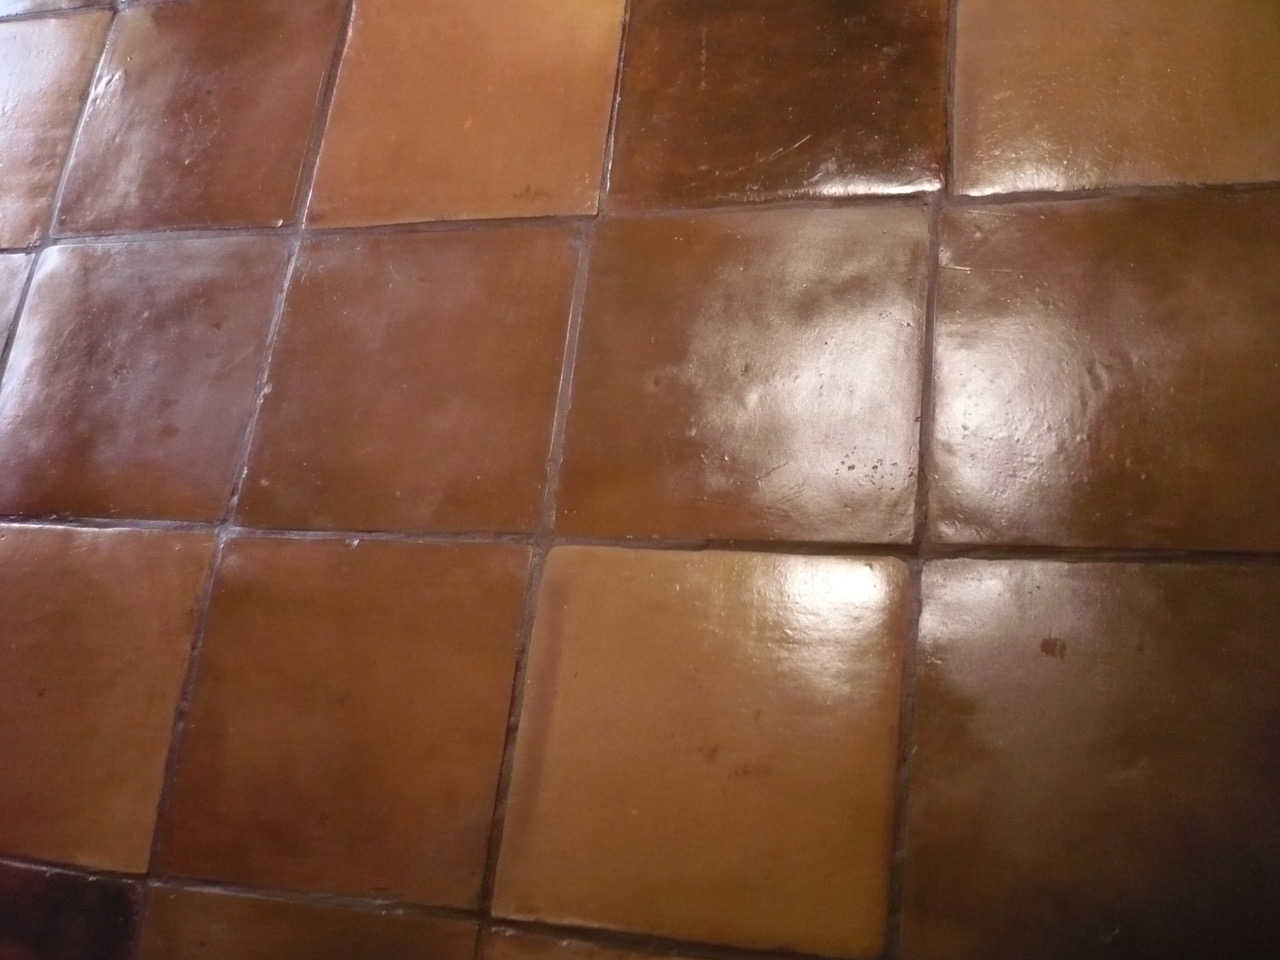
Stone tile details, facing east.
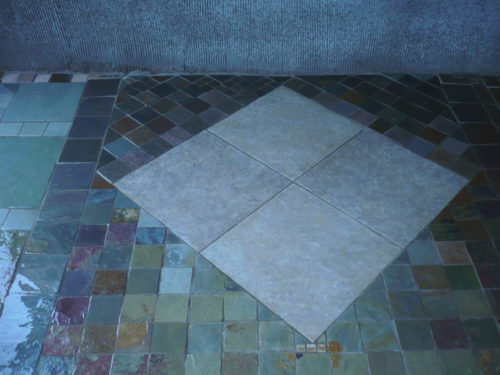
Stone tile details, facing north.
Porch, facing east.
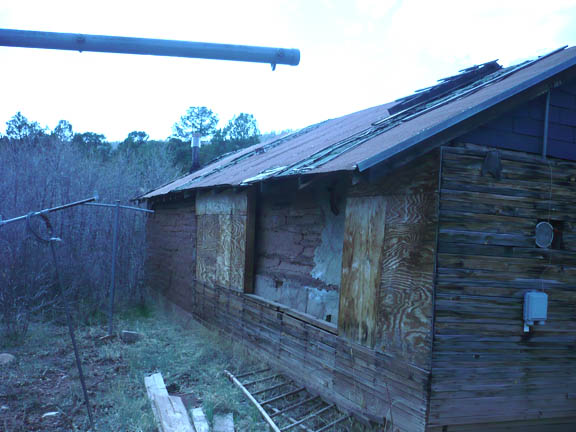
BEFORE - South and southeast sides of the 1932-built log cabin covered with adobe mud, plywood, and wood slats. It originally had no window on the south wall.
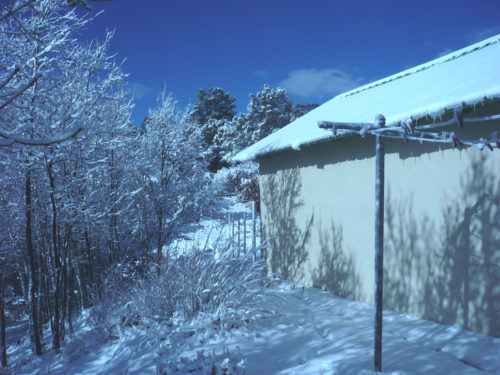
AFTER - Part of the south wall, newly stuccoed with new roof.
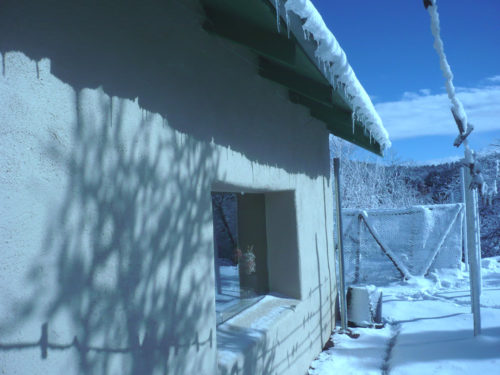
AFTER - The other half of the stuccoed south wall with newly installed window.
AFTER - Southeast wall, stuccoed with new window.
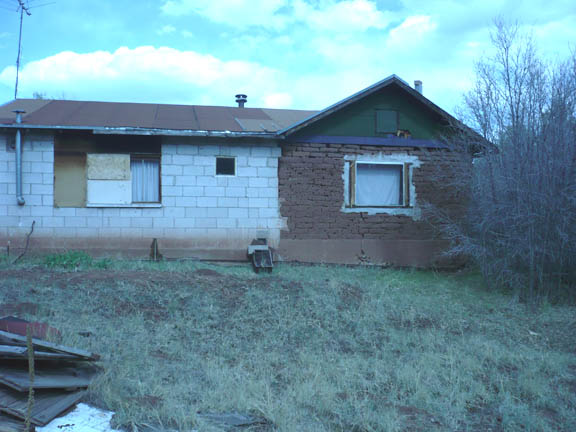
BEFORE - The original west exterior of cinderblock and adobe bricks.
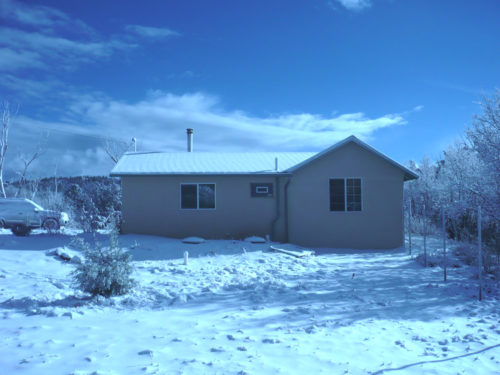
AFTER - Newly stuccoed west side with all new windows.
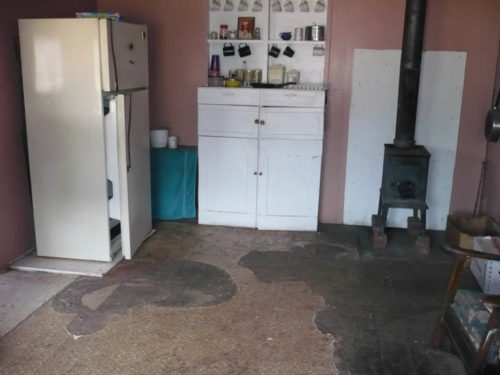
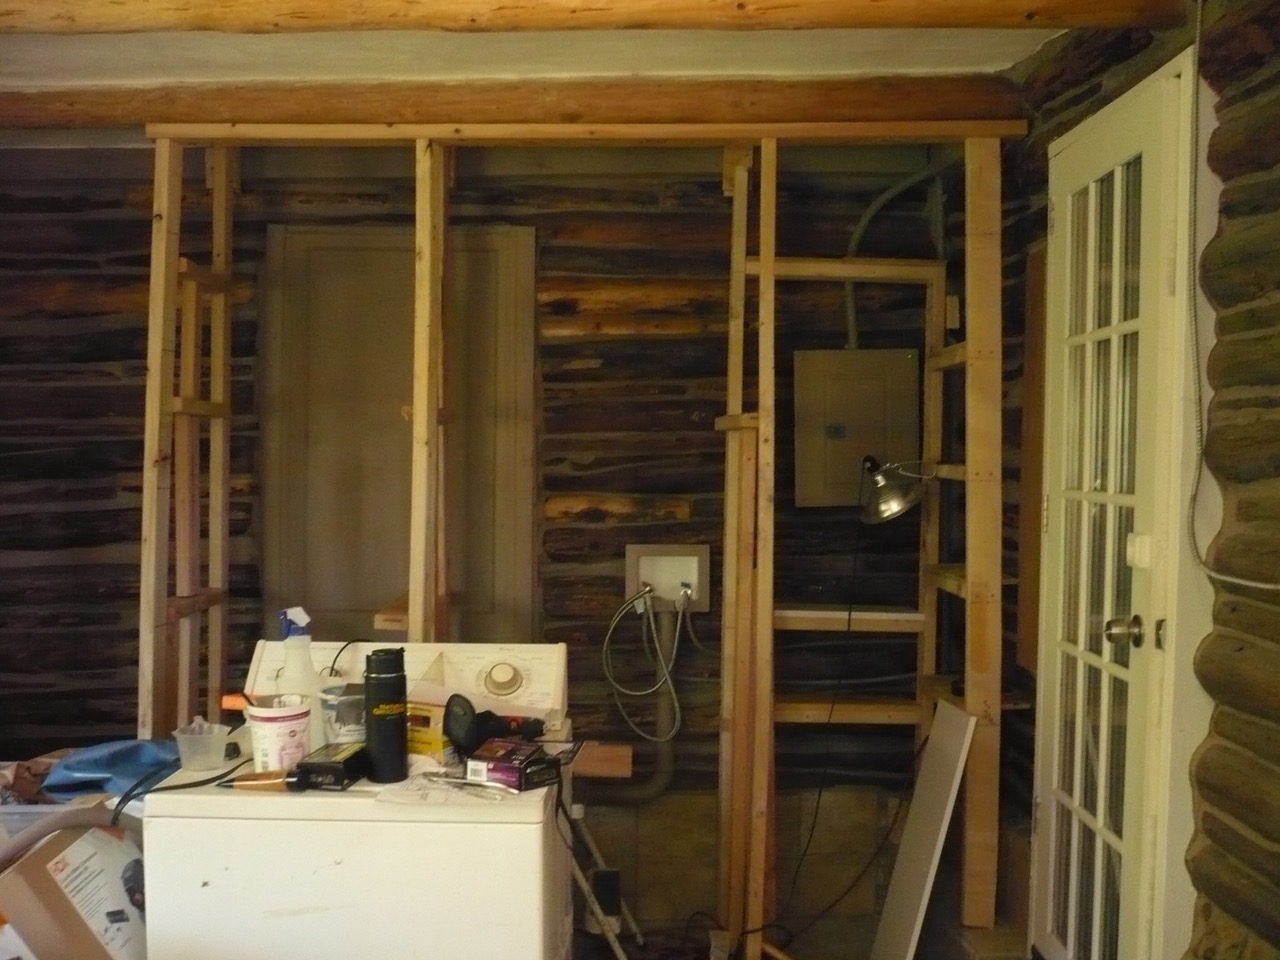
BEFORE - Original south wall of kitchen. The wood stove was a fire hazard and started a chimney fire, the built-in cupboard had hidden pack rat nests underneath, and there was no entry to the log cabin room.

AFTER - Kitchen south wall with new entrance to the log cabin room.
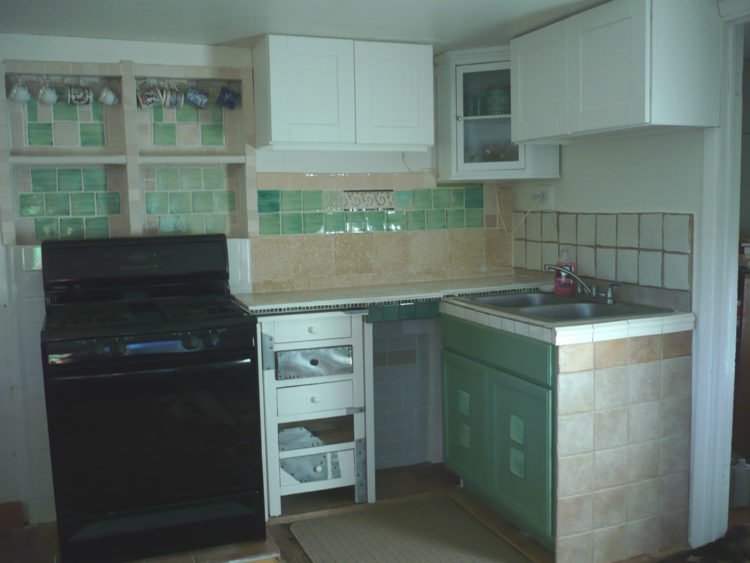
AFTER - I removed the old cupboard, added a sink, and tiled everything;
then built shelves and a marble countertop and added cupboards.
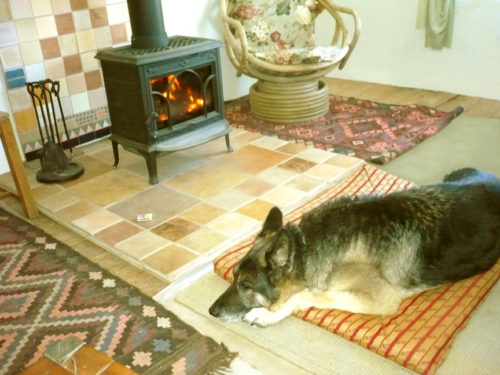
AFTER - I built a tiled platform and back wall according to the fire safety code for the new wood stove.

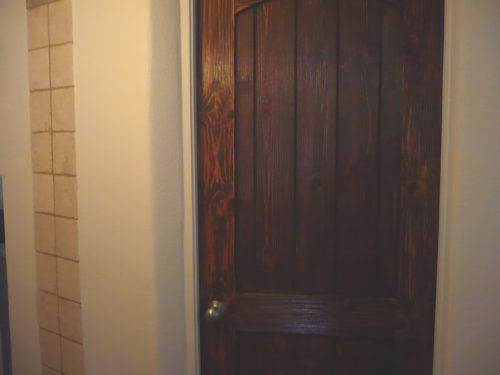
AFTER - I refurbished this old French door to the log cabin room and tiled everything.
Tiling details on door to the log cabin room.
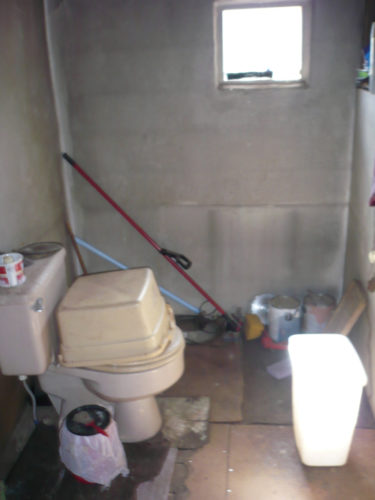
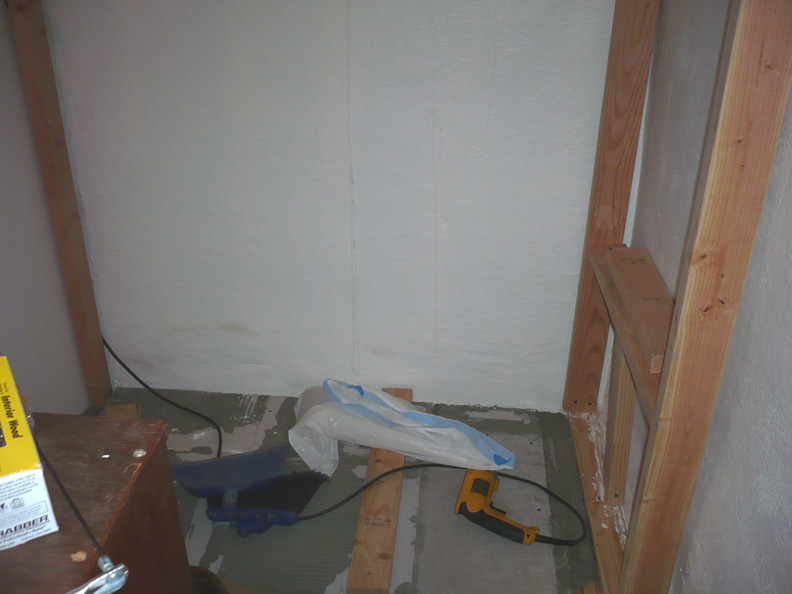
BEFORE - This wasn't actually a bathroom. The previous owner simply plunked an old toilet here with no plumbing, unattached to the floor. I guess he intended to make a bathroom, but when I bought the property, there was only an outhouse. I knocked out the wall on the righthand-side to make the room big enough for a tub and corner shelves behind it for linens. Initially, the floor had a hole about 3 feet by 2 feet wide beside the toilet that rats and mice entered through.
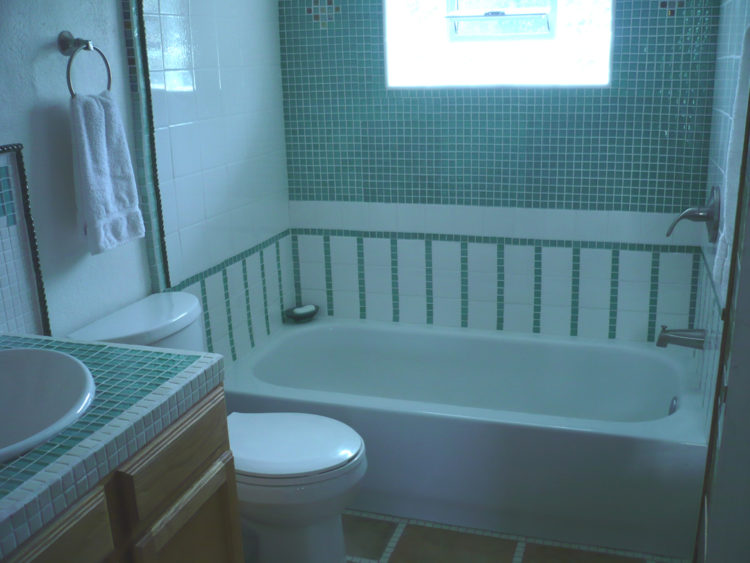
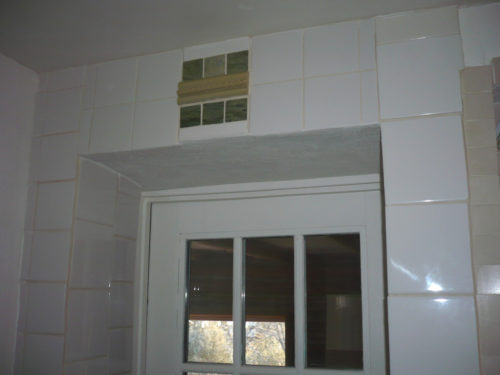
AFTER - The new bathroom, my first tiling job: sink, walls, and floor.
The old window was replaced with a glass-block window that opens in the
middle.
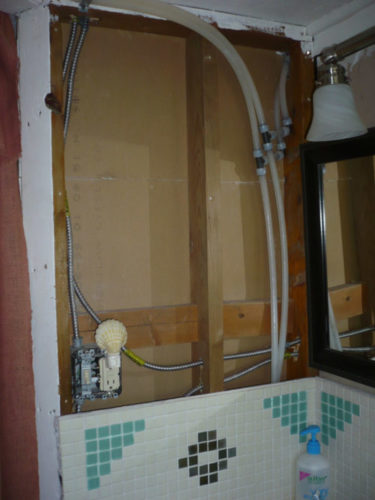
BEFORE - This corner of the bathroom had no wall separating it from the hallway, plus holes in the wall behind the sink. I added walls, used sheetrock compound to approximate a plaster finish, and installed a medicine cabinet here.
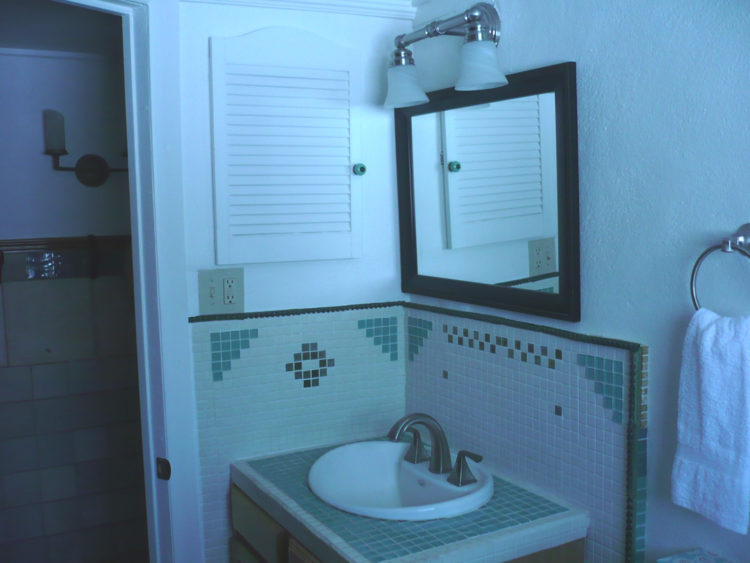
AFTER - Bathroom corner with new walls and medicine cabinet.
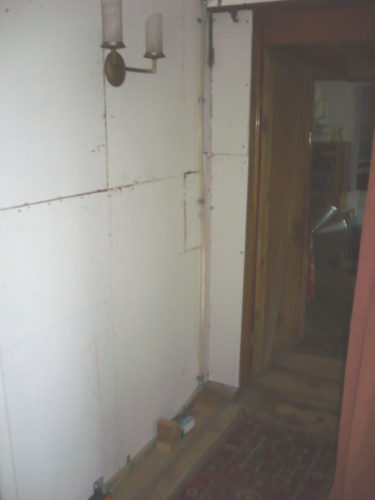
BEFORE - Hallway with rotten floor boards,
sheetrock walls, and new but exposed water pipes.
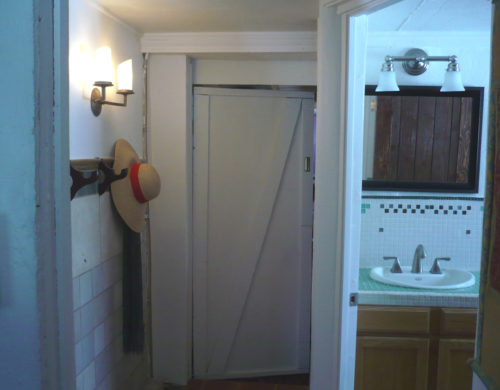
AFTER - Hallway with tiled and "plastered" walls, coat hooks.
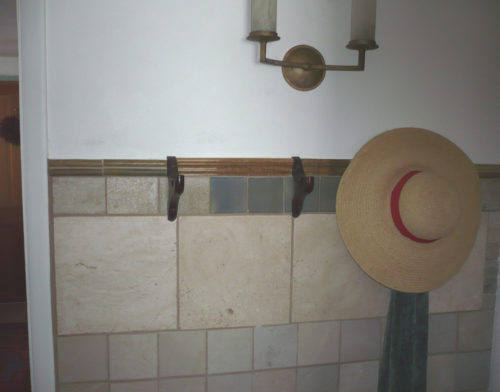
AFTER - Closeup of tiling and coat hooks in hallway.
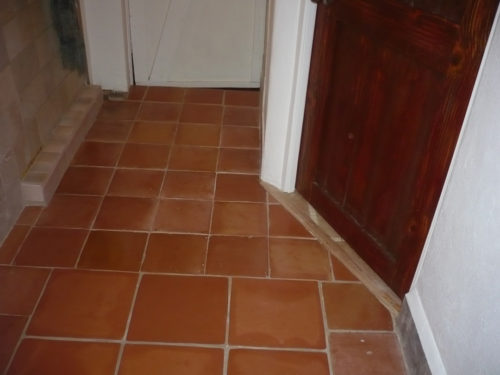
AFTER - Tiled hallway floor and tiled "tunnel" to hide water pipes.
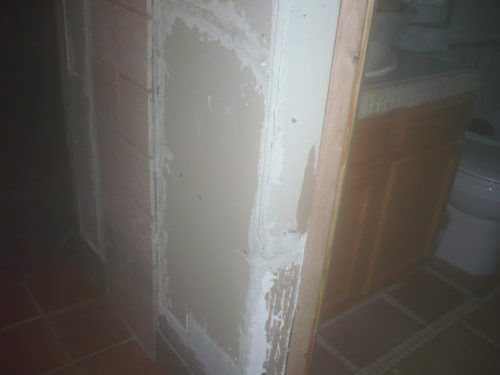
BEFORE - There were very few right angles and straight walls in this house. The new bathroom is an odd trapezoid shape. I built this wall in the hallway with a corner larger than 90 degrees to accommodate the existing support beams.
AFTER - That same wall, "plastered" and tiled, with an old door I sanded and stained. I had to rebuild the door frame as well, because the previous owner had installed the 2X4 frame (without a door) askew.
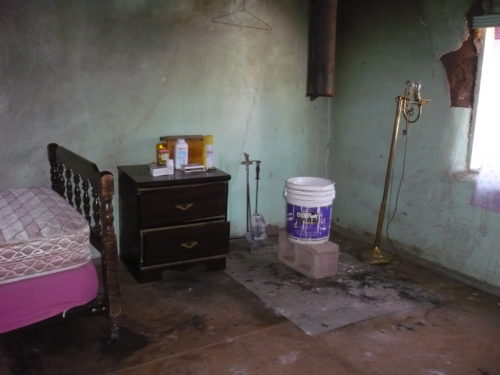
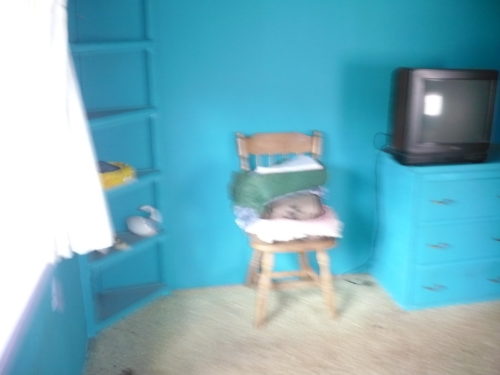
BEFORE - This photo doesn't convey the awfulness of the bedroom. The sagging sheetrock ceiling, only 6'4" in height, was moldy and soaked with rat pee and poop. The attic above had rat poop over an inch thick on the floor. The old stove pipe was rusty and the walls sooty, with a water-logged moldy masonite floor. Chunks of cement had fallen off the adobe brick walls, leaving openings large enough for wild animals to come inside.
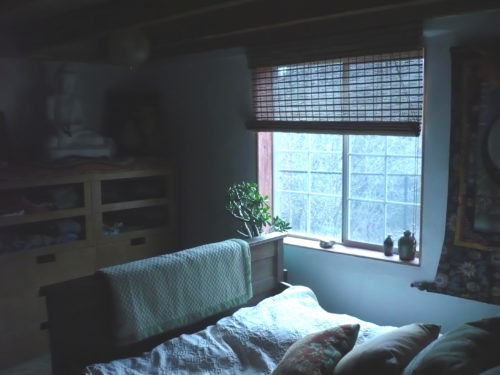
AFTER - This is the same bedroom corner as the photo on the left. My first step was to spend 4 days in a hazmat suit in 90-degree weather vacuuming up rat poop in the attic above this bedroom and bundling up the pee-soaked pink insulation to take to the dump. The attic ceiling was only 4 feet in the center, sloping down to inches at the eaves, which meant crouching down or lying prone. With only sheetrock as the attic floor, I had to balance myself on the beams above the sheetrock. My goggles kept fogging up, and the construction lamp went out every time it moved. The vacuum had poor suction and repeatedly got clogged with bits of insulation. Weeks later, I went into the bedroom below and hammered at the sheetrock ceiling to knock it down. I hired my construction crew to install a wood ceiling ABOVE the beams, creating a bit more actual height and a lot more illusion of height. I had new windows installed high up to the ceiling in every room as another optical illusion, so that the low ceilings wouldn't be oppressive and you could see the sky. The construction crew used sledgehammers to break into the walls and install the larger windows. For this bedroom, I filled the holes in the adobe walls with cement first, then added a layer of stucco, then sheetrock compound to create a plaster texture. Finally, I built windowsills and stained them. After I removed the masonite from the floor, the floorboards underneath were surprisingly pristine.
Bedroom southeast corner: I start to build a closet.
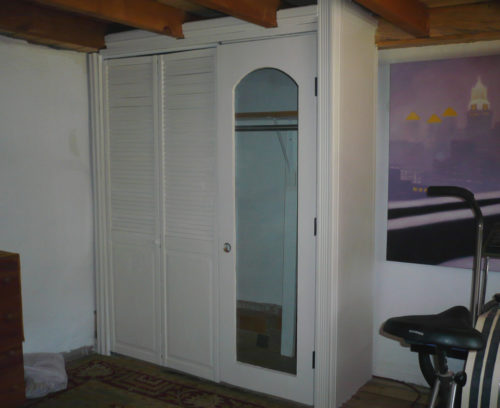
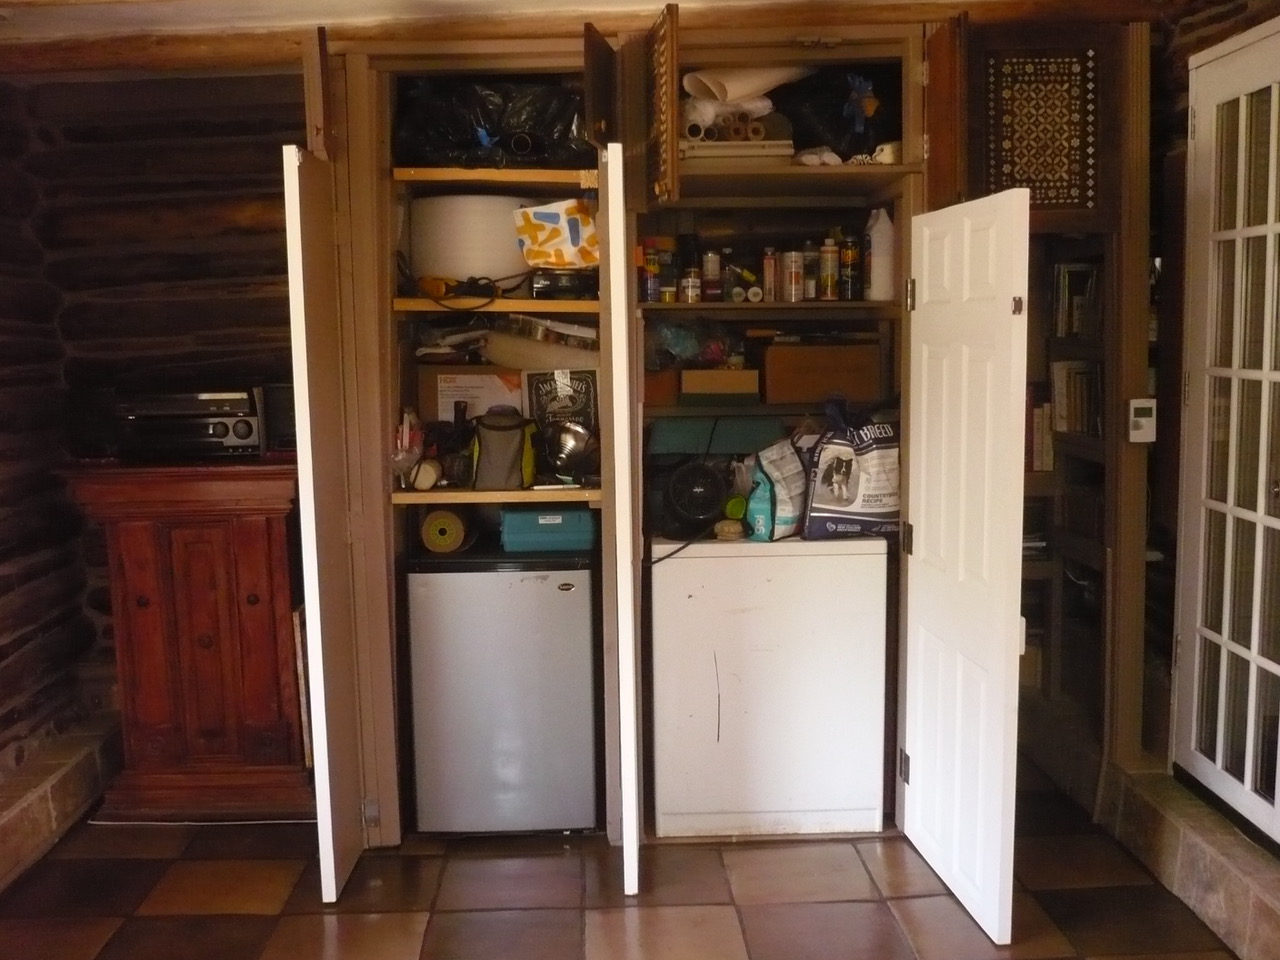
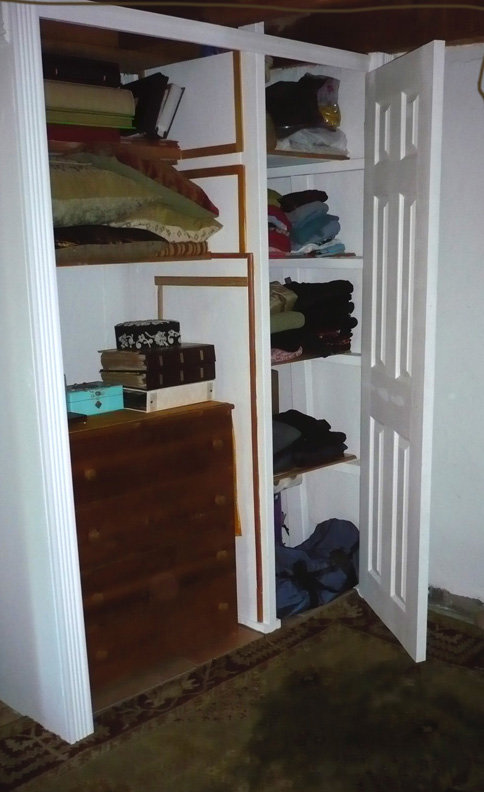
The finished closet: I found this old arched glass door at the Habitat for Humanity store, along with the two louvered doors. I tiled the closet floor and the wall inside partway up. The metal pole with its side support of 2X4s could probably hold 1,000 pounds of clothes. Despite my poor carpentry skills (due to being mathematically challenged), I always make things very strong and then cover up the imprecise joints with decorative wood molding. In this case, though, I managed to make the doors join together exactly.
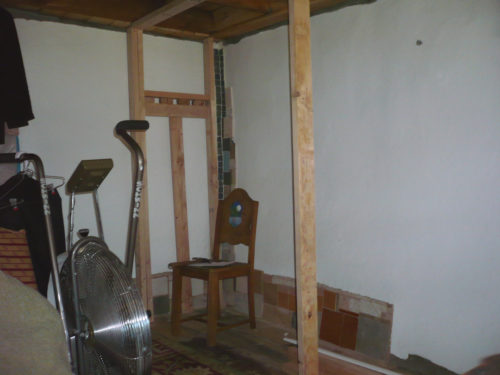
Building a second bedroom closet in the northeast corner.
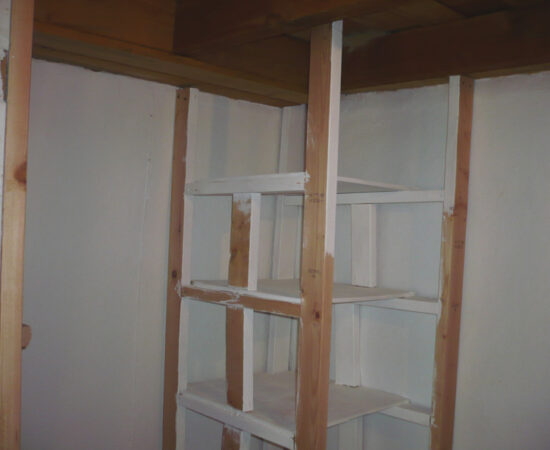
The walls are not straight, so my boards are not either.
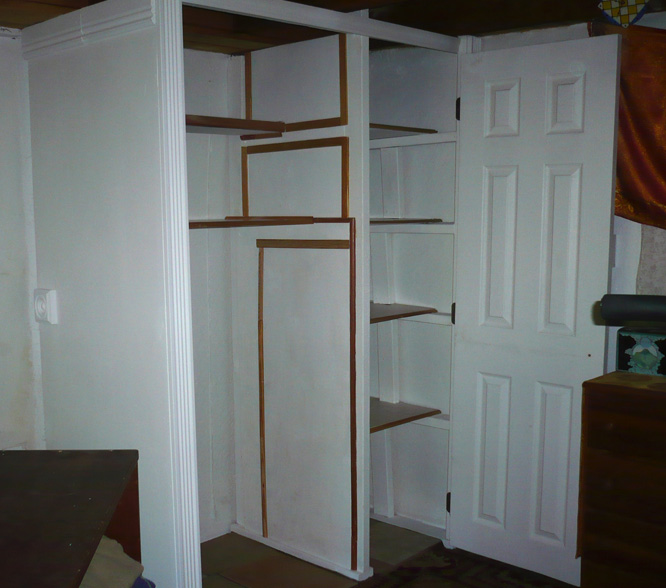
The left-hand side can fit a clothes dryer, and I had an electrician install a 220 volt outlet nearby. If the space held a dryer, I'd hang a second door on the left to cover it, but I'm using the space for a chest of drawers insted. The top left shelf is a 2-inch thick board, so is strong enough for heavy books. The shelf below it is only plywood, for lighter objects. As usual, I covered my mistakes with decorative wood trim.
BEFORE - This was originally a second bedroom. I turned it into an office. The floor had filthy shag carpeting covering several layers of rotten linoleum, then masonite underneath. But under that, the floorboards were actually level, so that I could install new engineered click-lock hardwood floors without adding a layer of plywood on top.
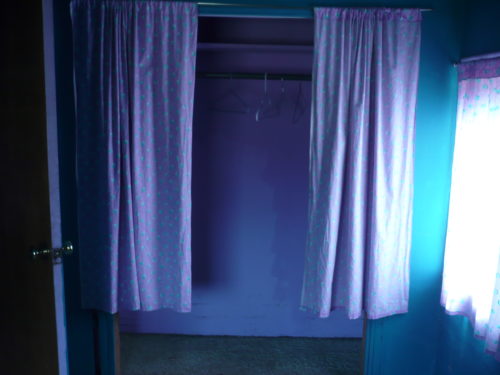
BEFORE - This was a closet in the second bedroom, with no door, only a curtain enclosing it. I broke down the back wall to gain space for the bathroom, then added a new wall about 2.5 feet closer into the room.
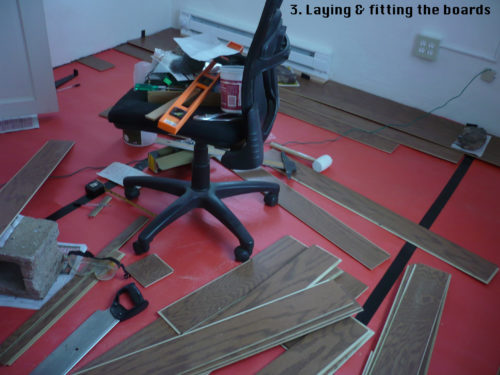
After ripping up the old carpet, linoleum, and masonite, I put down a moisture barrier, then started arranging the floorboards.
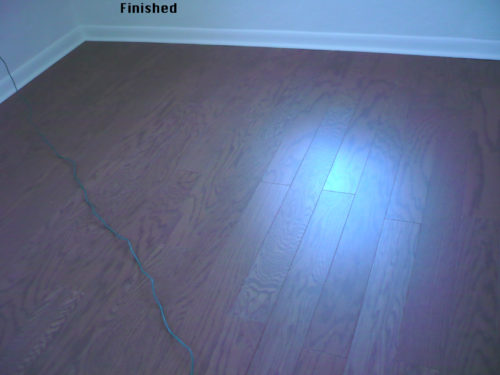
AFTER - The hardwood (oak) flooring, installed. It was a very strenuous job because all of the boards were slightly warped. Also, attaching baseboards and molding to the painted cinderblock walls created a whole new set of problems.
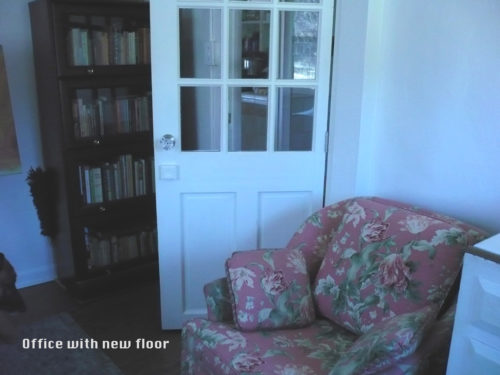
AFTER - The office with an old French door from Habitat for Humanity. I replaced 2 panes of broken glass, painted it, and got rid of the original cheap hollow-core door.
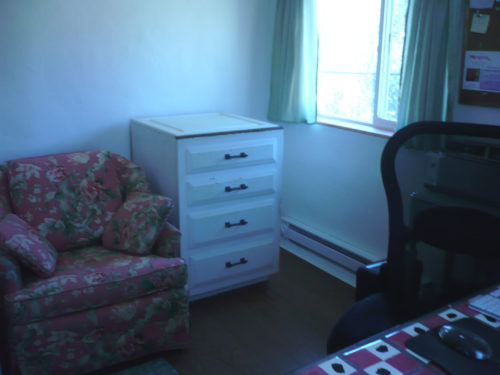
AFTER - The office showing the new wall (where the closet had been), new window, new floor, and baseboard heater.
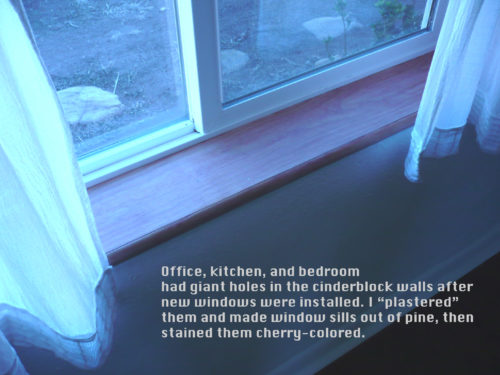
I built windowsills for all new windows.

I don't have a "Before" photo for this, but my plumber installed the water pipes up the wall and along the ceiling, to prevent them from freezing. (When he initially put them under the floor, they froze in the winter.) So I used this decorative wood molding to cover up the water pipes in the kitchen and hallway.
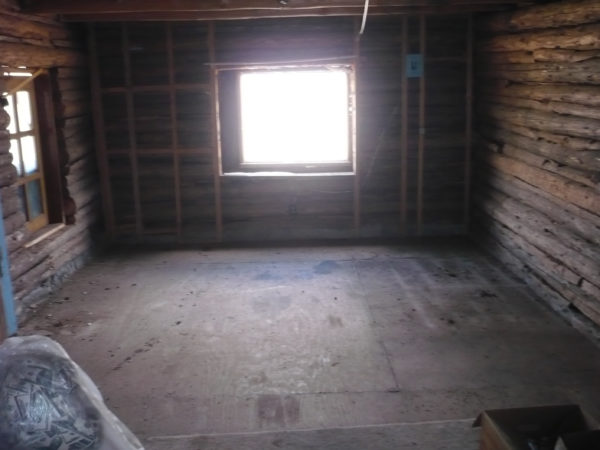
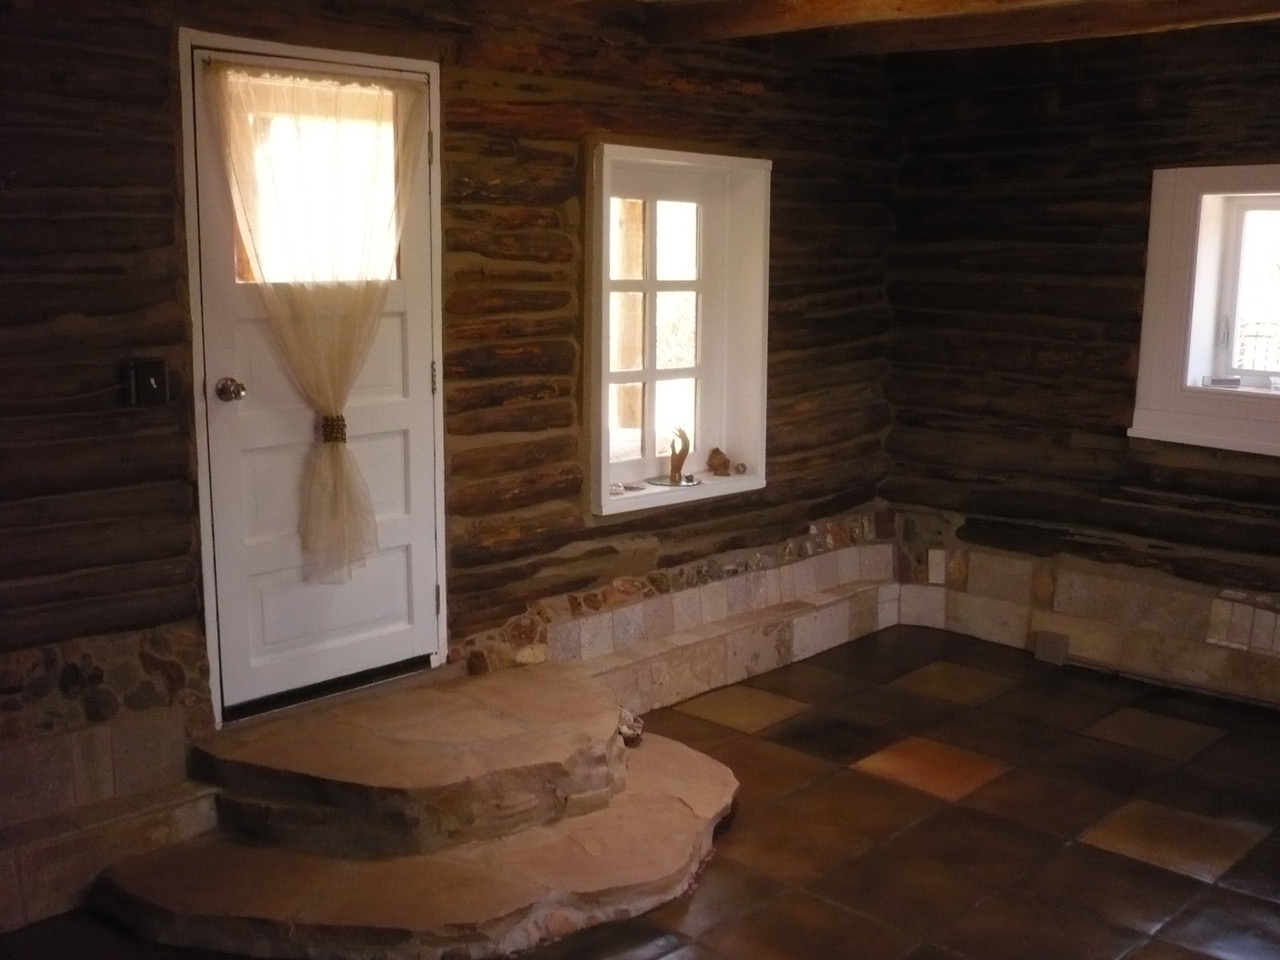
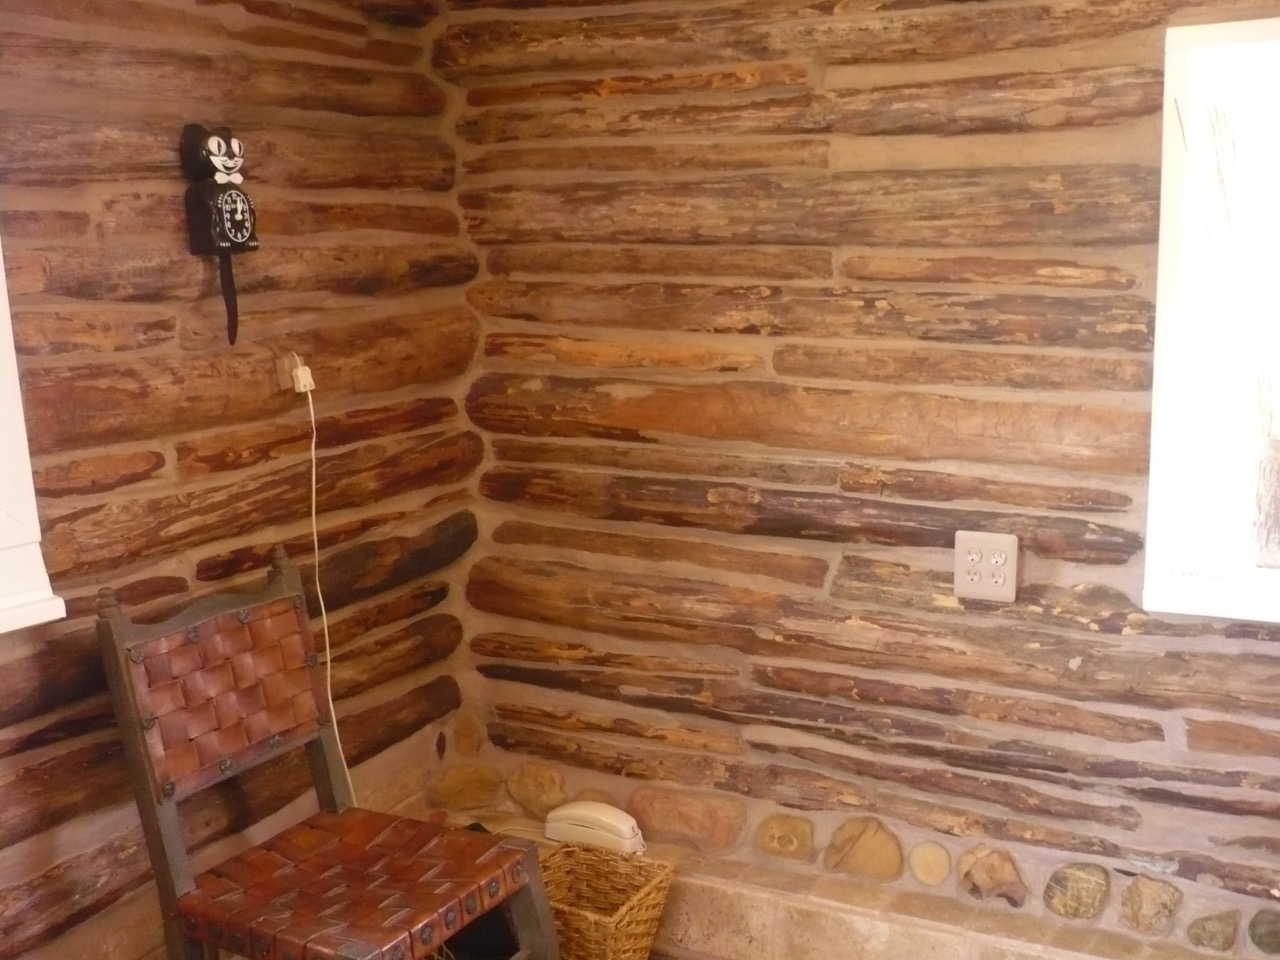
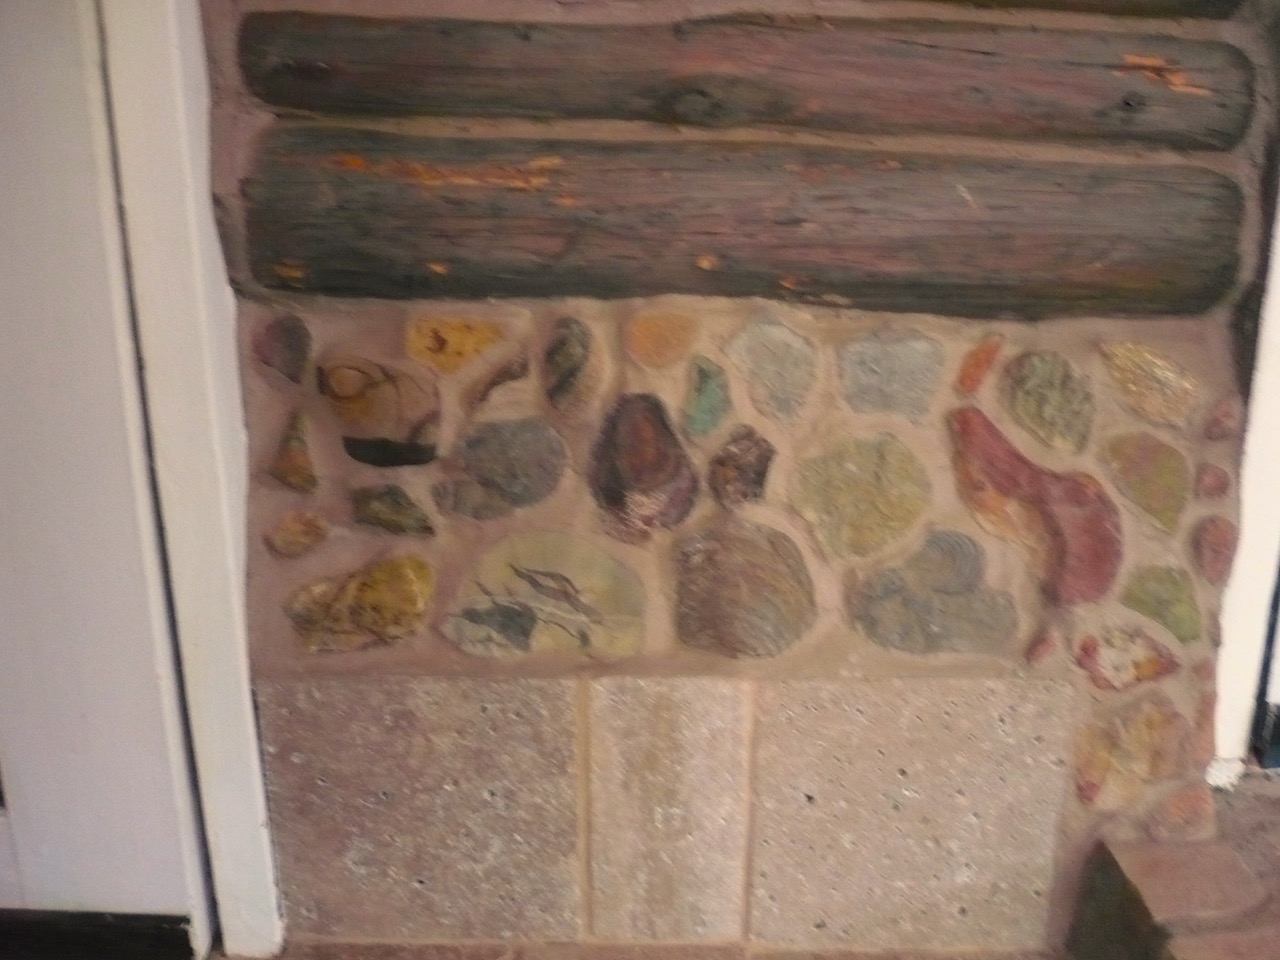
BEFORE - The original "log cabin room," built in 1932. The spaces between the logs had gaps where the adobe mud had fallen out, showing the sky and letting in rodents. The filthy plywood floor was soaked with pack rat pee and poop. The two windows were unframed, and the south wall had no window until I added it. My first step was temporarily patching up the holes between the logs with cement. Then a 4-man construction crew ripped out the plywood floor, used jackhammers to break up the hard clay underneath, and hosed it down, creating a giant mud pit. They next shoveled up the mud and carried it outside in wheelbarrows, to lower the floor 16 inches. Finally, they laid a 2-inch-thick cement floor. After the floor had been lowered, this created a higher ceiling, and we could finally look out the windows without bending down. (Did I mention that very short people had built this house? That explained the low ceilings, windows, and doorways.)

I found an old 70"-long double-pane window at the Habitat for Humanity store, and my construction guys cut into the south wall of the log cabin room and installed it.
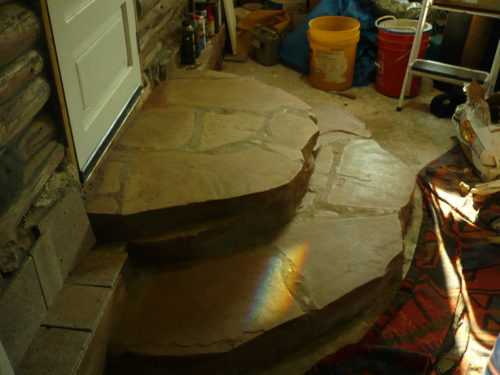
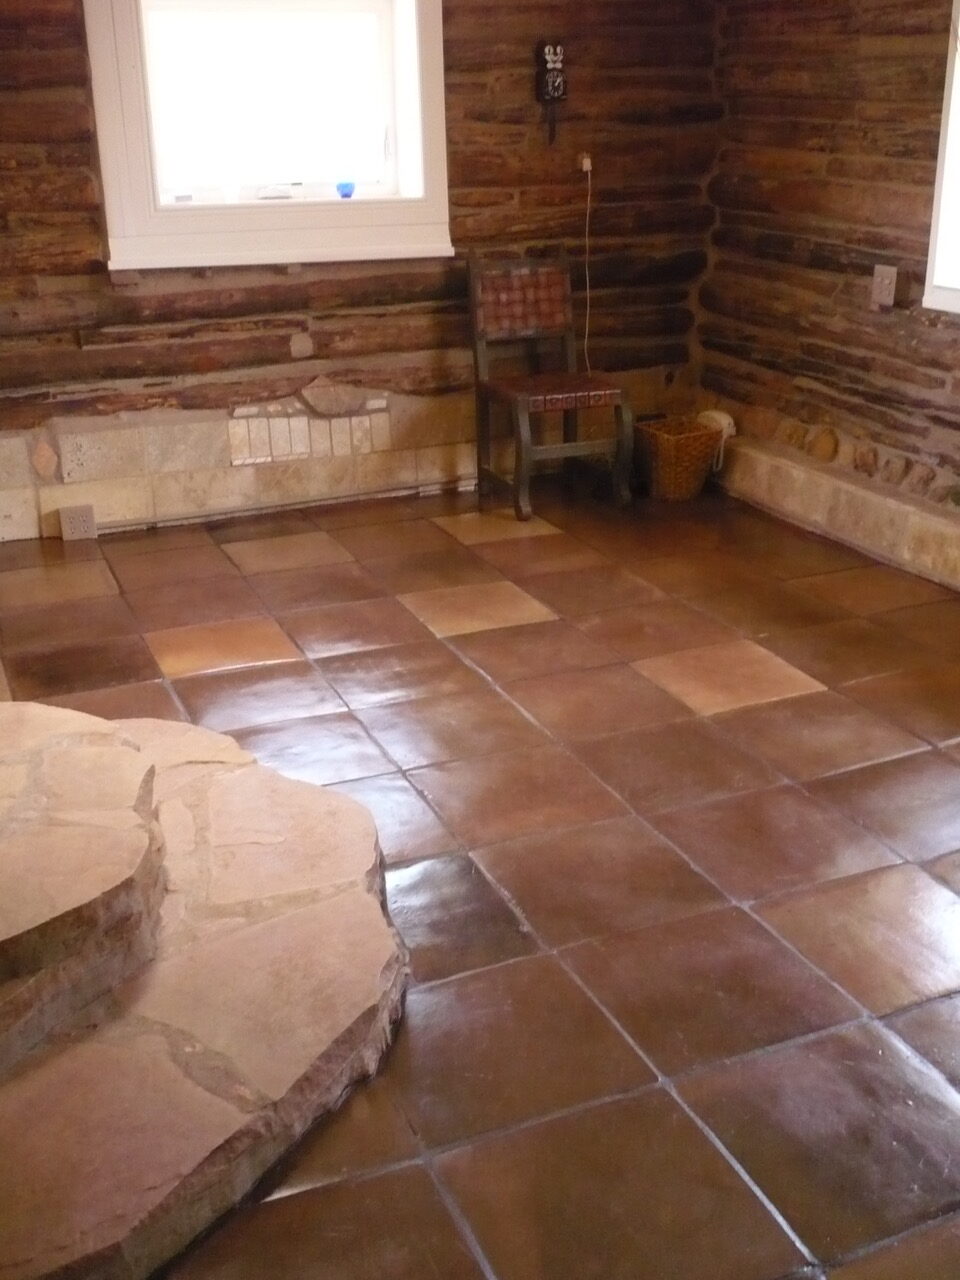
With the log cabin room floor now 14 inches lower, I made flagstone steps leading from the porch. I wanted an expansive platform right at the doorway so that when people entered, they wouldn't have to immediately look down to avoid falling.
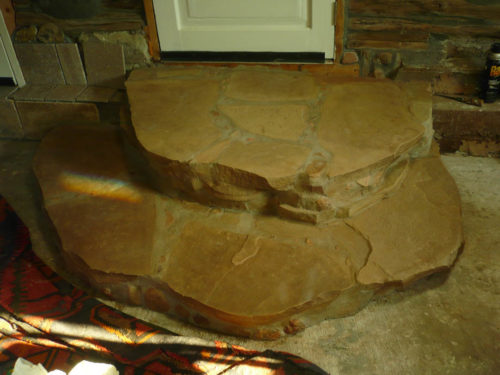
Front view of the flagstone steps in the log cabin room.
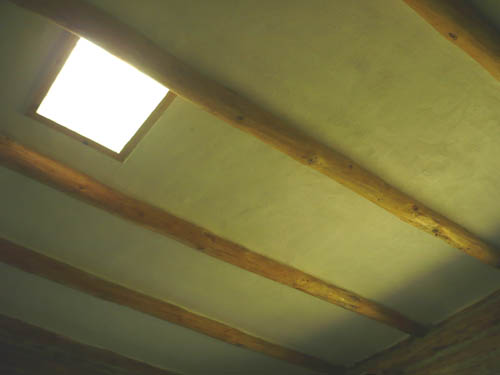
Log cabin room ceiling with new skylight: the original ceiling consisted of old wooden boards with gaps up to 1 inch between them. I added insulation foam in the cracks, then stapled black moisture barrier paper and
chicken wire to the ceiling, but I realized my rotator cuffs
couldn't handle any more overhead reaching. So I hired another uncle of my regular crew to plaster the
ceiling between the vigas (round beams). He did a better job than I could have with traditional plaster anyway.
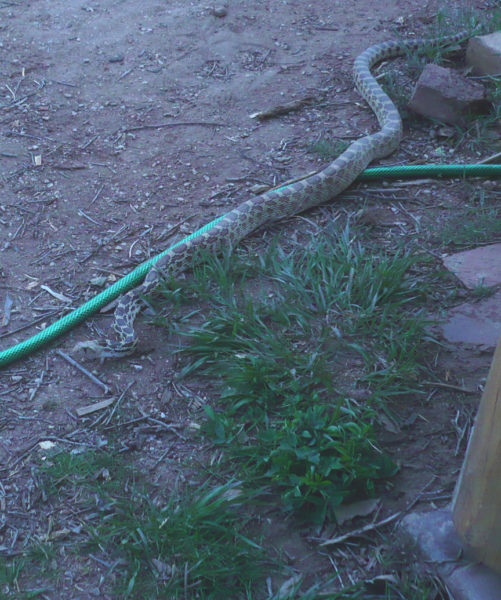
A bull snake cozying up to my garden hose.
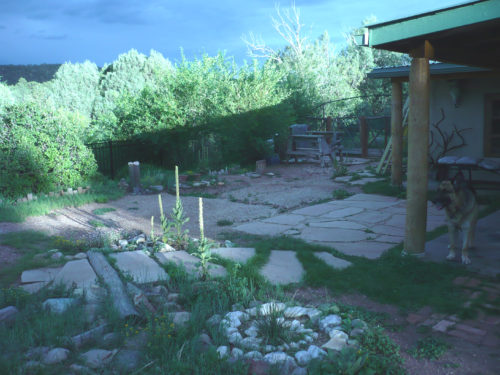
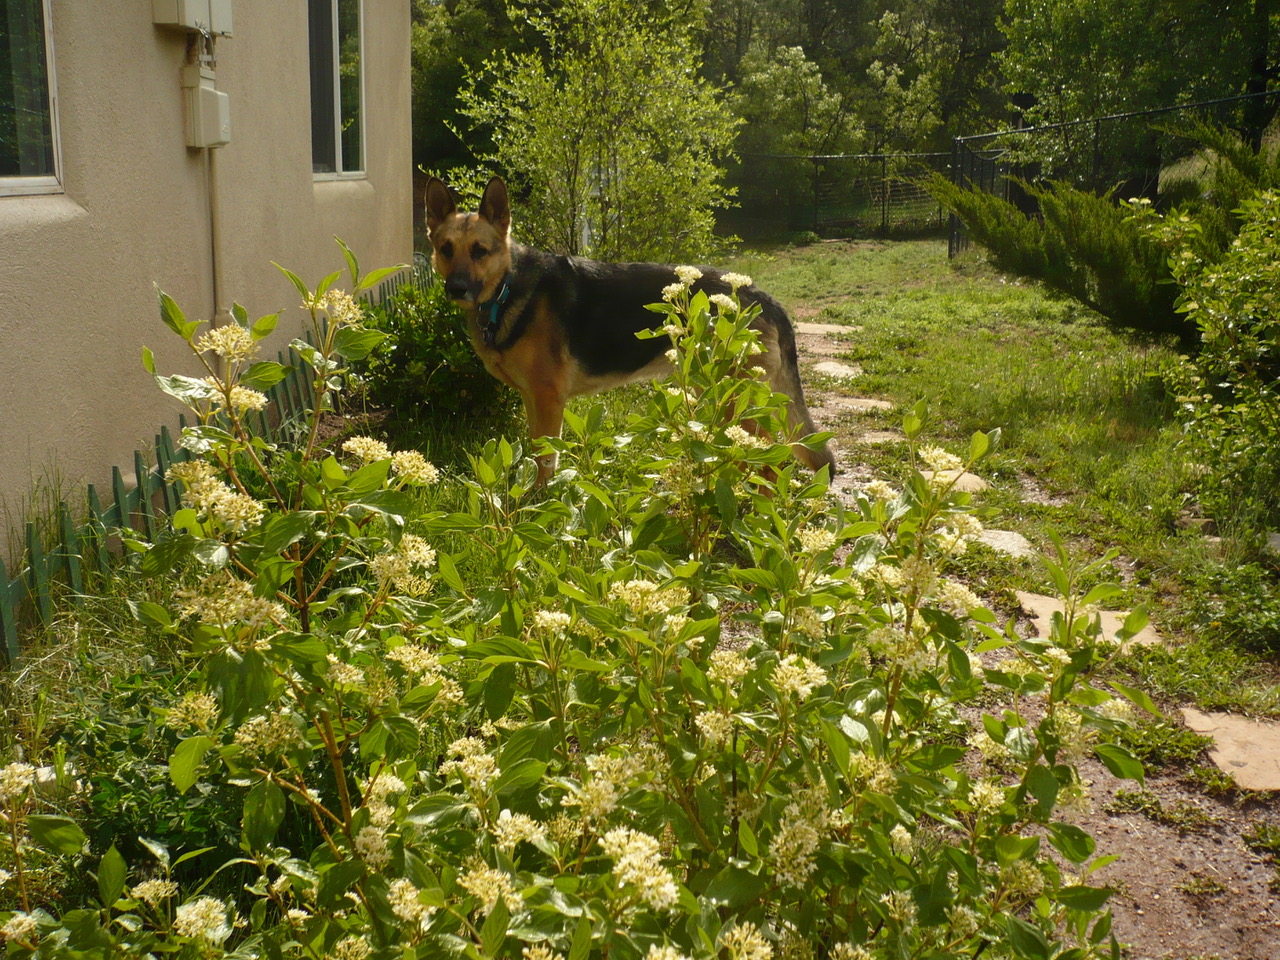
The fence, north view. With the drought this year, my neighbors had starving bears walking on their porches and mountain lions in their yards. This fence kept wild animals out and my dog inside.
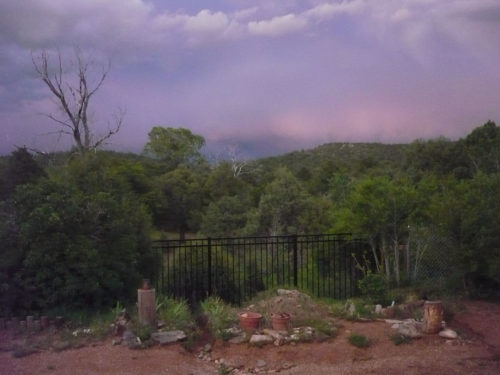
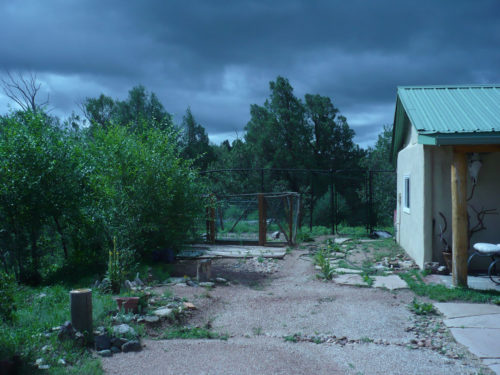
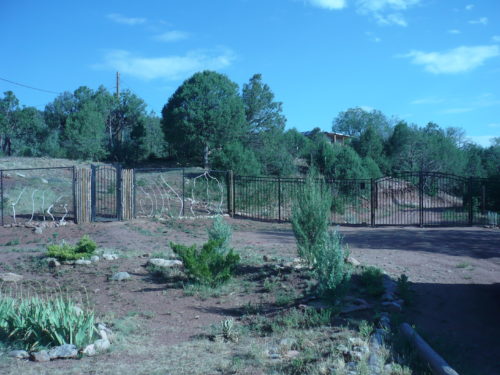
The fence, east view.